Deco Tutorials - Deco Reviews
Friday June 3, 2011
Review: Decoden Whipped Cream Mediums
Today I will be reviewing the following mediums for whipped cream:
1. Winsor & Newton Galeria Modeling Paste (also reviewed here)
2. Decoart Paintable Textures Modeling Paste
As I mentioned in my first whipped cream mediums review, I'm constantly looking for better solutions for my whipped cream. A non-toxic medium that dries to a durable consistency, beautiful color, and beautiful shape is ideal. These two are the top of the line so far - both are very, very good mediums that satisfy all of the above to some degree. You can't go wrong with either product. Below is a picture of the Galeria.
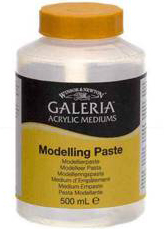
dickblick.com was having a Galeria sale so the modeling paste was on sale at Blick Art Materials for 50% of its original price for $10.50. Because of this I got the bigger size. This paste comes in two sizes - 250 ml and 500 ml. It is still on sale as of this post and you can purchase it here.
Below is a picture of the decoart modeling paste, courtesy of Amazon. You can purchase it here.

When I bought it, it was $8.12. Amazon products frequently change prices in accordance with demand and for some reason the
Decoart paste goes out of stock quite frequently. Well it is an amazing product and I will show you why. Below is a picture of a simple shell. The top shell, as labled, was piped with the Decoart modeling paste and the bottom shell was piped with the Galeria modeling paste.

These are freshly piped shells and you can already see
the beautiful detail from the Decoart modeling paste.
The Galeria does not hold the fine detail of the shells
quite as nicely, unfortunately. Below is a picture of
the Decoart modeling paste piped in swirls and dollops.
Pardon my lack of piping skills >_<. Once again, click the picture
for an enlargement.

It is no surprise that the Decoart paste holds detail
better as it is a thicker, heavier paste. The Galeria paste is
thin, fluffy, and light. Same kind of picture below,
produced with the Galeria paste now.

If you're interested in seeing just how thick the
Decoart paste is (what am I saying? You can't even judge
without feeling it! xD), below is a picture of me
spooning it out. It feels like chocolate chip cookie batter!

So how did they dry? Well, here's the interesting part.
The Galeria paste dried brittle and hard. No cracking!
It also dried a gorgeous icy white color. Awesome!
Looks just like white fondant if you use it as
frosting. The Decoart was just ever so slightly yellowish
in comparison, but the difference was hardly noticeable.
I got so excited about the Decoart that I deco'ed a
couple of things quickly. Below is a picture of a
higlighter cap I put a few tiny cookies on. You can really
see the detail in this one. I was confident that the
cream would be durable, as the folds of the cream are
flexible - similar texture to silicone though not as shiny and
rubbery looking. Both had a matte finish. I think that
the yellowness of the Decoart can be remedied by
painting over it in white - after all, it is a paintable
texture! I personally have not tried it myself though.

Here is a close-up picture of a black notecard box I
deco'ed. You really don't notice the yellowness here, if
there is any.

And here is a picture of two macarons with whipped cream filling. The Heart-shaped
one was made using the Galeria and the brown one was
filled with Decoart paste. You can choose which one
looks better; I'm going with the Decoart paste for its
excellent detail. I'd say that both pastes are pretty
much the same white color here.

And here's a picture of freshly piped Decoart onto the
brown macaron.

Honestly, both are good choices and it's really
dependent on what you want your pieces to look like.
Both stay on materials pretty well, although I haven't
tested sticking power on any whipped cream medium quite yet. They
both dry in about the same amount of time - 24 hours to
be safe. The flexibility of the Decoart paste really won
me over, while the color of the Galeria was unmatchable.
I encourage you to try both if you have the money.
They're about the same price if they're not on sale
anyway.
Leave comments on my LiveJournal post: link
Back to Top
Friday May 13, 2011
Review: Varnishes
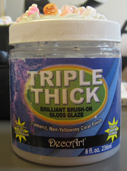
I've only used two types of varnish so far - Decoart Triple Thick Brush-On Gloss Glaze and Liquitex Gloss. I have used both on air dry Fuwa clay
and Delight air dry clay (a US version of Hearty) because air dry clay is a particularly weak medium and absolutely *must* be
varnished lest any moisture soften and destroy your air dry clay creations! Below is a picture of the Triple Thick.
Both of them are quite different mediums. The Decoart really lives up to its name - it's very thick. Check out a picture of the
consistency below.

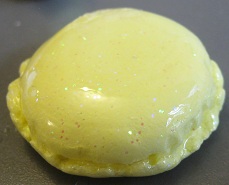
I applied it to a yellow macaron
and came out very shiny and very glassy, the type of shine I was looking for. This varnish is particularly STICKY. While applying, you
really have to careful to apply it evenly. When letting it dry, big globs of varnish tend to drip down the sides of your pieces and
may run onto the bottom. I varnish pieces one side at a time so that every part of it is varnished but not at the same time. The
Liquitex gloss is a much thinner medium and thus it really tries to get into every pore that it can get into, whereas the Triple Thick
stays on the surface of the clay. The Triple Thick's stickiness stays for quite some time; I think I have to wait more than 24 hours for
it to to dry because it really likes to stick to things like other clay pieces.
The bottle does not state that it's waterproof. However, the Liquitex Gloss states that it is water resistant, something I have not
personally tested out yet. At some point I will try leaving them both in bags of water to test out how water resistant the varnishes are.
Here's another picture of a pair of heart shaped macaron earrings I made.

Below is a picture of the Liquitex varnish I used.

It's a bit harder to see where you're varnishing because this one is more watery and thin. It also tends to try to fill in any cracks you have.
It really attaches well though. I've heard that it also has a "melting" effect on your clay, so think twice before using on air dry clay with a lot
of fine color detail. Personally I've never experienced this. Below is a comparison picture of a couple biscuits I made. The left one is with the Liquitex, the right with Triple Thick. Click
the thumbnail to enlarge.

As you can see, the left one isn't as shiny but the details come out better; the details on the hearts are a bit muddied by the thickness of the glaze
but the piece is shinier. Note that even after Triple Thick is dry it's still kind of sticky. I think I'll have to wait it out to see when it's
completely not sticky.
So which one to use? Depends on how shiny you want it and how thickly you want to varnish your piece. The Triple Thick is really good at
protecting the clay surface by virtue of how thick it is. The Liquitex is good too and has the added bonus of being water resistant but
is not as shiny as Triple Thick.
Leave comments on my LiveJournal post: link
Back to Top
Tuesday May 10, 2011
Review: Decoden Whipped Cream Mediums
This is a very long post. I've tried several types of whipped cream mediums and will be reviewing the following products:
1. Liquitex Basics Modeling Paste
2. Golden Molding (note the spelling) Paste
3. Whipple (US version) decorating creme
4. DAP White Silicone
5. Decoip, a Japanese brand of silicone cream (From Strapya, labeled as "Keitai Pastry Chef: Decoration Whipped Cream Deocip")
Brief disclaimer: By no means am I an expert on decoden or sweets deco. My piping skills need a lot of work and I haven't tested out
every medium there is. I'm not comfortable selling any of my creations until I'm sure that I'm good enough at what I'm
making and I'm definitely a newbie.
I love whipped cream frosting and I'm looking for something that will stick to different mediums, preferably as non-toxic
as possible (both in terms of smell and composition). Color, finish, and durability are all considered as criteria for a
good medium.
1. Liquitex Basics Modeling Paste
This has been reviewed by KawaiiFrenzy (link).
Because I stupidly didn't read her review before purchasing the product, I bought the modeling paste. I did the same experiment as her. Click the thumbnail below to enlarge.

I taped a metal tip to the bottle and piped straight from the container. I would strongly advise using a pastry bag
instead because it got reeeeally messy this way. I would also recommend purchasing this
to preserve the stuff that you put in your pastry bag so you don't waste any product. Once I get around to practicing
my piping I'll make a page for tips for whipped cream frosting. In any case, below is an image of the dollops I made.

As KawaiiFrenzy pointed out, the tips of the dollops are fragile and will break off with very little force. Moreover,
they're quite sharp. I peeled the dollops off of the plastic wrap I piped them on a day later and noticed that the
inside of the dollops were still wet, so I let them dry another day facing up. They dried quite brittle and the color
was somewhat grayish; not a pure, ice white that I was looking for. Once they were done drying, I varnished them with some
Liquitex varnish, pictured below.
After it dried,the dollops were a bit shinier, but not terribly nice looking. The upside to varnishing, though, is that the tips o
the dollops don't break as easily, and were very slightly flexible. It would take more force to break them. They were still pretty
sharp though. Overall, I really do not recommend this product for dollops, but it's decent for making shells.
2. Golden Molding Paste
This has been reviewed by a commenter on Hikaria's site (Sammigene), and here is the link
to the post.

Holy cow, Golden is an expensive brand. My 8 oz bottle was expensive, about $15. I scooped some into a
pastry bag and piped teeny shells onto a little jar. It was pretty good stuff. Held peaks well, very very easy to
pipe. I piped a swirl onto another gel, then waited a day for both experiments to finish drying. The next day,
I checked back. The cream had dried a bit grayish.

This was unfortunate. I varnished it with some Decoart Triple Thick and it
looked really glossy. After it dried, I poked and prodded it and noticed that the swirl was sinking into itself
whenever I applied enough pressure. This meant that the inside had not dried, but also I noticed that it was not
really sticking to the bottle. I ended up peeling the entire swirl off of the jar. Not surprisingly, the entire inside
of the dollop was wet with fresh paste. I was disappointed, but this was not surprising at all.

Sorry about the air bubbles x_x I clearly have a lot to learn when it comes to varnishing. I'm in the process of letting it dry some more. I will try to salvage the project by gluing the swirl back onto the jar
with some E6000. The Golden paste is also a bit runny for a paste, so don't expect it to be really good at holding
a well defined 3D shape like silicone does. It's still not terrible though.

Golden is a pretty good medium if it weren't for the color. Not good for patterns with a lot of depth though because of
the drying. Perhaps if I waited a lot longer it wouldn't be so bad, but I'm an impatient person :P
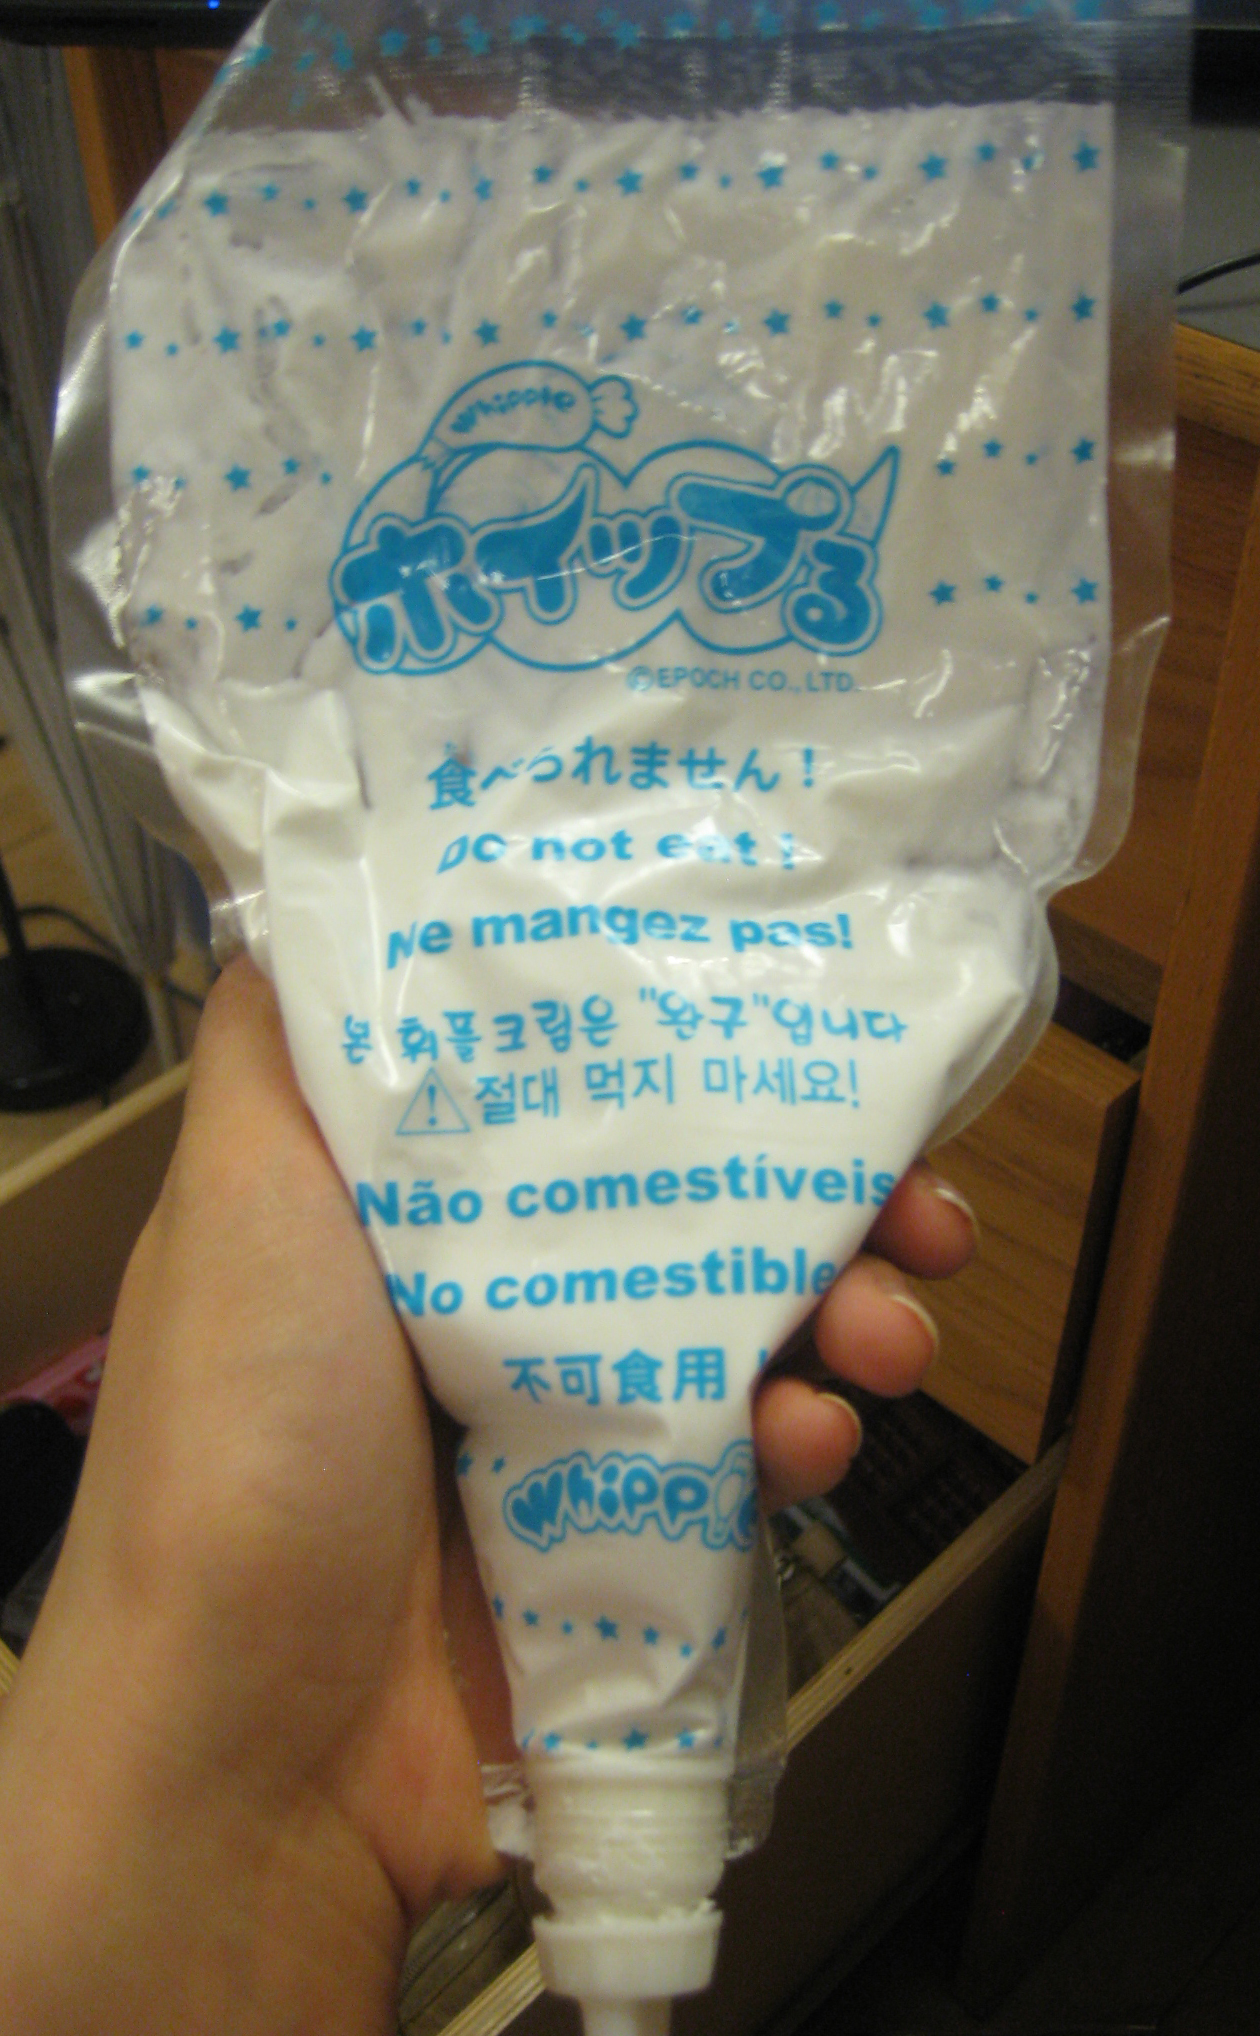
3. Whipple (US version) decorating creme
This has been reviewed in a post by omgia.
I had a pretty similar epxerience.

I bought a refill bag rather than the entire set and piped some shells onto a headband. You can get it from the
Toys R Us website for $6, or on Amazon for a bit more (I used Amazon because I have Prime).I like the fact that
it comes with its own stopper so you don't have to use up the entire pastry bag in one go.

The Whipple was not sticky at all and it was difficult to get my shells to be nicely continuous, but you might attribute
this problem to my lack of piping experience.
The cream dried matte and brittle and without varnishing, looks like real frosting :) I did varnish it with my Decoart Triple
Thick for protective purposes. It reminded me of an extremely soft clay. It held its shape very well as I was piping.
10/10 for the beautiful color and pretty good durability too. Stuff will NOT stick to it without glue though, so
expect to apply glue on the back of your cabochons and clay creations before putting them into the cream. For the
amount that you get, it's a bit on th pricey side.
4. DAP White Silicone
Oh god, the odor. I chose this particular brand beause it is safe for a little food contact.
I have yet to determine whether or not it sticks to things like metal. I do know it does
not stick to plastic wrap; when it dries it peels right off.

Really, really sticky stuff. I did not use a caulking gun so I had taped a decorating tip to the opening of the
product and piped from there. Again - as I mentioned before, not recommended! Pipe into a pastry bag, for sure.

Silicone is really good for defined dollops and swirls. I recommend it for things like cupcake swirls and dollops.
Not bad for shells either, but I don't have a lot of experience with this yet.
Silicone has the reputation of not sticking to anything except itself. When putting cabochons into the the silicone,
definitely put some silicone on the cabochon first.
I loved the brilliant white sheen it had when it dried. Not so much a fan of how badly it attracted dust. You
also cannot varnish it, sadly. But you can create incredible detail with silicone and because it's so rubbery, you
can't really break it. I'd recommend silicone for cupcake swirls.
5. Decoip Decoration Whipped Cream
Finally, Decoip, which I bought from Strapya. I bought it in chocolate and pink from Strapya.
IMPORTANT: the tubes don't come with the tips. The tips are sold separately. I highly highly recommend making this
investment because 1. they're easy to clean - the silicone comes right off 2. you can screw them directly onto
the tip so you dont have to wrestle with pastry bags or taping tips.

Unfortunately, I couldn't read anything on the package, but the packaging was pretty classy, haha. The first thing
I noticed was that there was basically no smell. Awesome! Odorless silicone! I attached my tips to the chocolate
tube and piped out a cupcake swirl.

This was the most realistic looking cupcake swirl ever. I was so impressed by how easy it was to make the swirl
and how well it held its shape overnight as it cured. Awesomme!
I piped some shells with the pink. I'm terrible at shell-piping, but here it is anyway.

Really nice pink color but I kinda wish it was a bit more pastel. Nice colors, really great shape. Way too expensive.
I would not be using this regularly if I can help myself, or I would at least use it conservatively. There isn't
very much in the tube, so I would use it sparingly. By far, this is the most excellent product, and it adheres to
what I want it to adhere to, although I've only tested it on my plastic case. NOTE** Things do not stick to silicone
very well. My clay pieces fell off of my plastic case. Consider using a very strong glue.
Leave comments on my LiveJournal post: link
Back to Top